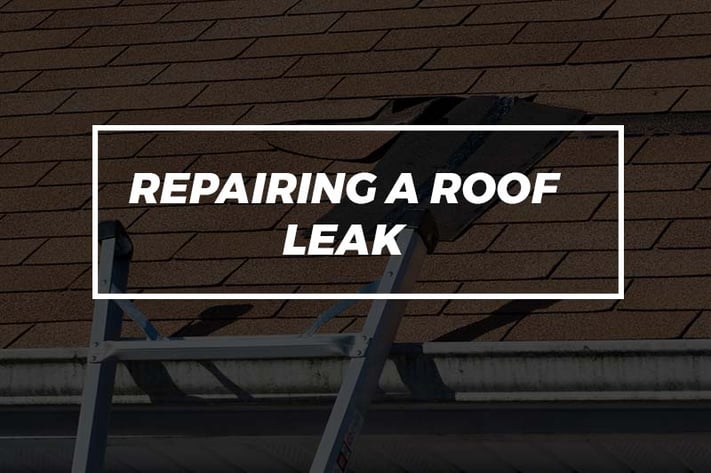
As a homeowner, you may be dreading the day that you hear those four awful words: "Your roof is leaking." Before you run back to renting with your tail between your legs, know that you can perform some roofing repairs without professional help. If you are noticing water spots on your ceilings, it's best to deal with them immediately before they turn into costly repairs. Not every problem is fixable by a do-it-yourselfer, but if you follow these steps, you may just save yourself a major headache later.

How to Repair a Roof Leak in 3 Easy Steps
If you are ready to tackle a roof project on your own, there are several steps you can follow to ensure that you fix the issue safely and efficiently.
Related: How Long Does a New Roof Last?
Step 1: Take Safety Precautions
Heights are dangerous and whether you are frightened of them or not, you need to be careful up there.
- Don't work alone. Have a buddy on the ground who can spot you when you climb the ladder and who can call for help if something goes wrong.
- Wear rubber-soled, closed-toe shoes for traction and to keep your feet safe.
- Don't work when the roof is wet or slippery.
- Whenever possible, avoid working during extreme temperatures. When it is too hot or too cold, shingles may not lay or seal properly.
- Keep the area clean and organized and check for any power lines.
Step 2: Find the Leak
If you don't know where it is, you can't fix it.
- Make use of your attic.
If you have access to your attic, go up there with a flashlight and look for water stains, black marks, and mold. If you don't see anything here, it's time to head up to the roof.
It's fairly easy to spot issues in a shingled roof, however it is unlikely that your leak will be originating from a section of uninterrupted shingles. Therefore, you should first check all areas of penetrations such as plumbing and roof vents, chimneys, dormers, etc.
- Get someone to help out and use the water method.
If you can't identify the leak once up there, you will need to send your buddy into the house while you take a garden hose up to the roof. Once he or she is inside, you can soak the area just above where the leak appears in the house and have your buddy let you know when a drip is visible inside the home. Patience is a virtue here as this may take over an hour.
- Look for nails or nail holes.
The leak may be caused by a shiner (a rogue nail that missed the framing member when it was nailed to the rafters). In cold places, you can determine this by heading up to the attic on a cold night with a flashlight. The nails will appear white because they are covered in frost.
When the attic heats up, the frost melts and drips, causing the water stains. If this is the case, you can just clip the nail with side-cutting pliers to fix the problem.
However, here in Vegas, that method won't likely work.
Related: 7 Warning Signs You Need a New Roof ASAP
Step 3: Fix the Leak
- Leaks caused by shiners or nail holes can be patched up using caulk or roof cement.
If the hole is on the larger side, this may only be a temporary fix, but nail holes less than 3/8 of an inch can be permanently solved using this method.
- If the leak is caused by a cracked or rotted vent boot, water can find its way into the house alongside the pipe.
If this is the cause of your leak, you need to replace the vent boot. If it's just a case of missing nails at the base of the boot, replace them with rubber-washered screws designed for metal roofing systems.
- When the leak is caused by cracked housings or broken seams on roof vents, you will need to replace the damaged vents.
If nails are missing, replace with the rubber-washered screws. Add a bead of caulk to the shingles on both sides of the vent after you've replaced them, to add a water barrier and keep them in place.
- If you notice signs of an ice dam (snow melts and the water freezes, pools, and find its way under the shingles and through an opening in the roof), you need to remove the shingles.
Strip them down to the wood sheathing and then use a strip of adhesive ice and water barrier under the main roof joint. Repeat for each shingle, covering all of the areas most prone to leaks.
- If you notice signs of a more serious roofing issue, be sure to call an expert roofing company to diagnose and fix the problem.
While there are many problems you can correct yourself, you'll save money in the long run by having it fixed right the first time.


